Contribute
From the outset, we have argued that any successful mapping effort must be collaborative and participatory. We hope that by opening this project up to the contributions of others, we can support the ongoing growth of our contributor community, and empower users to continue in collective efforts to make the map ever more useful and informative.
Edit or add to the site via Github
We have given the site a wiki-like structure, meaning people can contribute and add items directly - no coding required. So, if you know of an organization that you think should be on our map, or see something you think needs amending, go ahead and contribute to our site! We have written up a guide detailing how anyone can edit or add content to our site themselves using Github.
Find our contributors' guide below.
Alternatively, if you would like to contribute by a more non-technical method, see below.
Add an organization or initiative vie Google form
Please fill out this Google form to suggest organizations that you feel align with the approaches and core characteristics outlined in the Overview of the Ecosystem. You don’t have to be a representative or closely related contact of the organization to do so.
We'll process your suggestion as soon as possible. If you have any questions, please [get in touch »][contact].
Amend information via Google form
If you would like to amend an organization listing please fill out this Google form.
You can also [contact us directly »][contact]
Get in touch to get involved
Do you have a deep understanding of one (or more) of the ecosystem’s key traditions, movements, or philosophies? We’re looking to build up a library of content to help people understand the ideas and work of the ecosystem better. This might include material on key terms, influential ideas, major figures, history/lineage etc. If you have, or would like to write, content that you think might fit well in this library, please [get in touch »][contact].
We'd love help in every area of this project from research and writing to visualization and coding. If you'd like to get involved, or are already doing work you think might be complementary then please [get in touch »][contact].
Resourcing
We would welcome the sharing of any opportunities for resourcing, or offers of direct support! We are currently undertaking the project using only our own internal resources, which limits the scope and speed of our activities. Additional resources could make a big difference to sustaining and expanding this work. [Get in touch »][contact].
Contributors’ Guide
How to add or edit content on https://ecosystem.lifeitself.us/
Contents
How does the site work?
All the content for the Polycrisis Action Mapping site is contained within the life-itself/ecosystem Github repo.
Technical Architecture
The website is written in Markdown. A tool called content layer converts the Markdown files into HTML (the standard computer language for displaying and formatting web pages) so that they are displayed as pages on the site. This is the case for all pages on the website except for the homepage which is written directly in HTML.
Markdown
Markdown is a markup language (computer language for displaying and formatting web pages), which is designed to be easy to write and easy to read. It’s widely deployed on the web, for example by DataHub, GitHub, Stackoverflow and many other sites.
In Markdown, you control the display of the document. For instance, you can format words as bold or italic, add images, create lists, and much more. Mostly, Markdown is just regular text with a few non-alphabetic characters thrown in, like ## or **.
Head over to our Markdown Guide to learn more about Markdown and how to use it.
Front Matter
In the world of computer programming, front matter is metadata (data about data) at the top of a file. Front matter does two things: a) it displays key info about a page (such as its title and description) in a structured way which helps with a consistent layout throughout the site and b) is used as metadata for SEO (search engine optimization) purposes, helping our content to reach interested readers.
How to edit and add to the site
There are two methods for making edits to the website:
- Edit directly in Github
- Edit on your local machine (using a code editor or Obsidian)
For reasons of simplicity, in this guide we have only outlined how to edit using Github. If you would like to make edits using a code editor or Obsidian, please refer to our editors’ guide for our Web3 site and apply these instructions to the ecosystem repo.
Edit in Github
Setup
- Create a GitHub account if you don’t already have one
Key steps
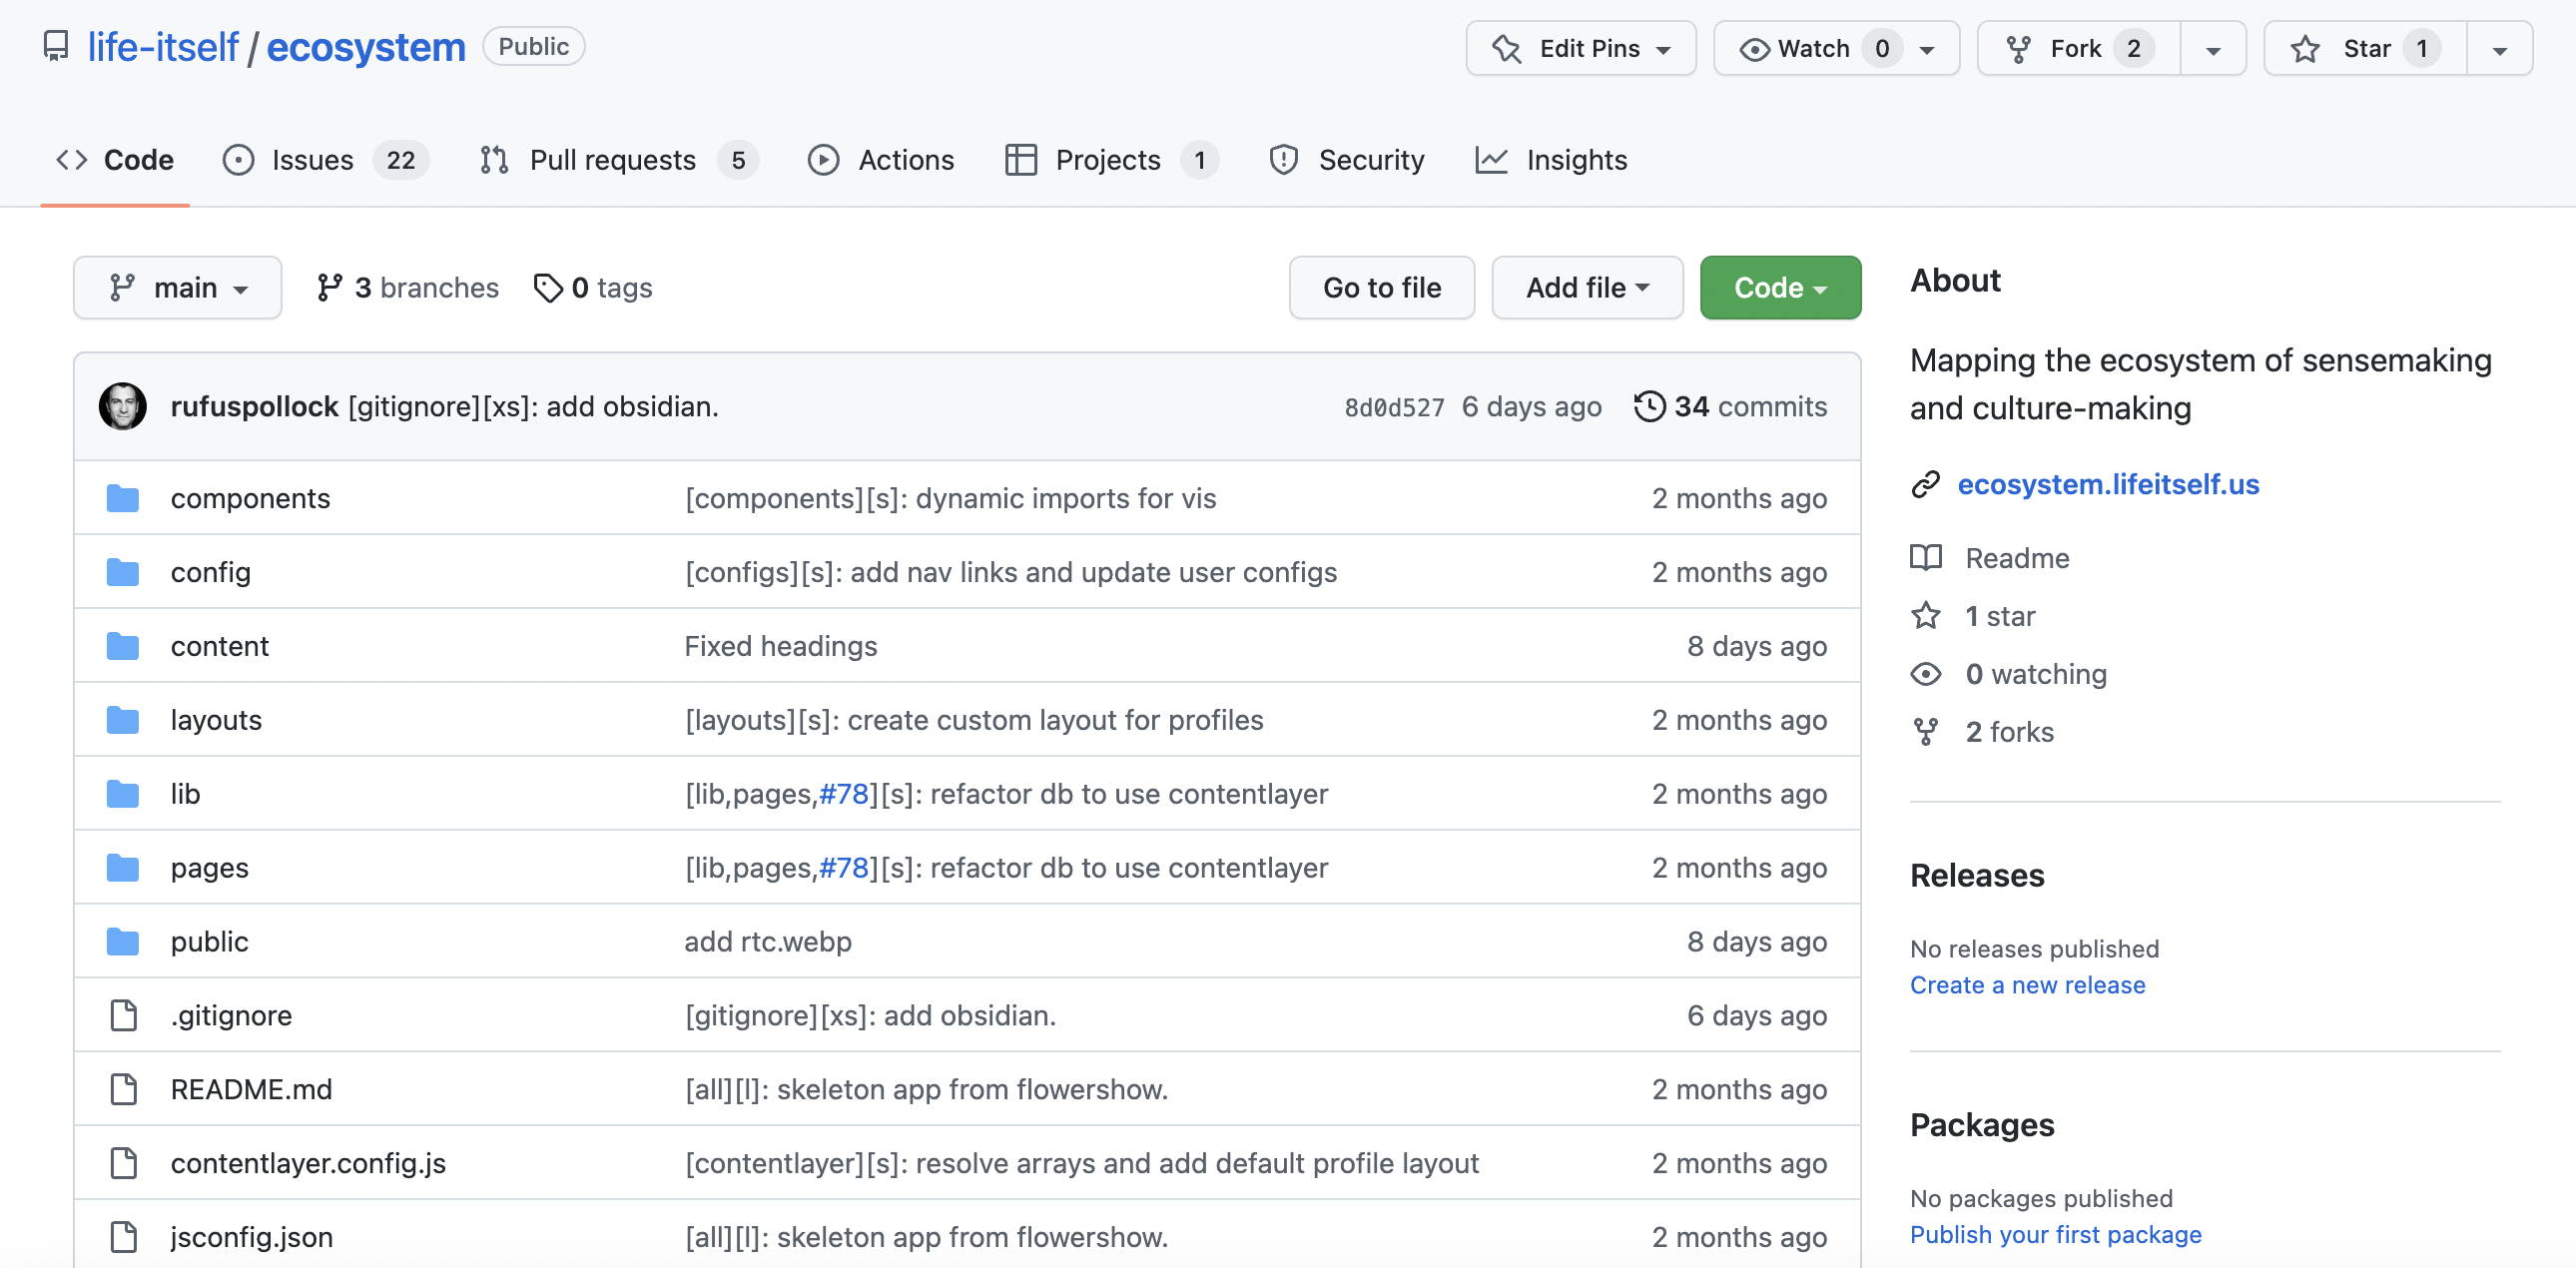
- Go to the repo storing the website content: https://github.com/life-itself/ecosystem
- All edits can be made in the main repo - unlike adding content to the site (see below), you can make edits to existing pages without forking the repo.
- Look for the file that corresponds with the page you want to edit. To find the file, it might help to look at the page URL. E.g. To find the file containing the profile page for 42 Acres (https://ecosystem.lifeitself.us/profiles/alter-ego), go to the folder “content”, then “profiles“, then the file “alter-ego.md”.
- Click on the pencil icon in the upper right corner to edit this file
- Make your edits
- Once you’ve made your edits, go to the bottom of the page where you will see a box titled ‘Propose changes’. Type into the first text box below ‘Propose changes’ a brief description of the edits you have made. E.g. ‘fix typo’, ‘add citation’ or ‘expand definition’. Use the box below that for optional further description of your edits.
- Then click the button that says ‘Propose changes’.
- Once you’ve clicked the ‘Propose changes’ button you will be taken to a new page. Here, click the button that says ‘Create pull request’. This will notify a team member to review and confirm the edits you’ve made.
- Once they’ve done that, your edit will appear on the site! Thanks for contributing!
Add to the website in Github
- Go to the repo storing the website content: https://github.com/life-itself/ecosystem
- Unlike when you are editing an existing page, in order to add a page to the site, you are going to fork the Life Itself ecosystem repo. To do this, click the “Fork” button at the top right of the page.
- Click the green “Create fork” button
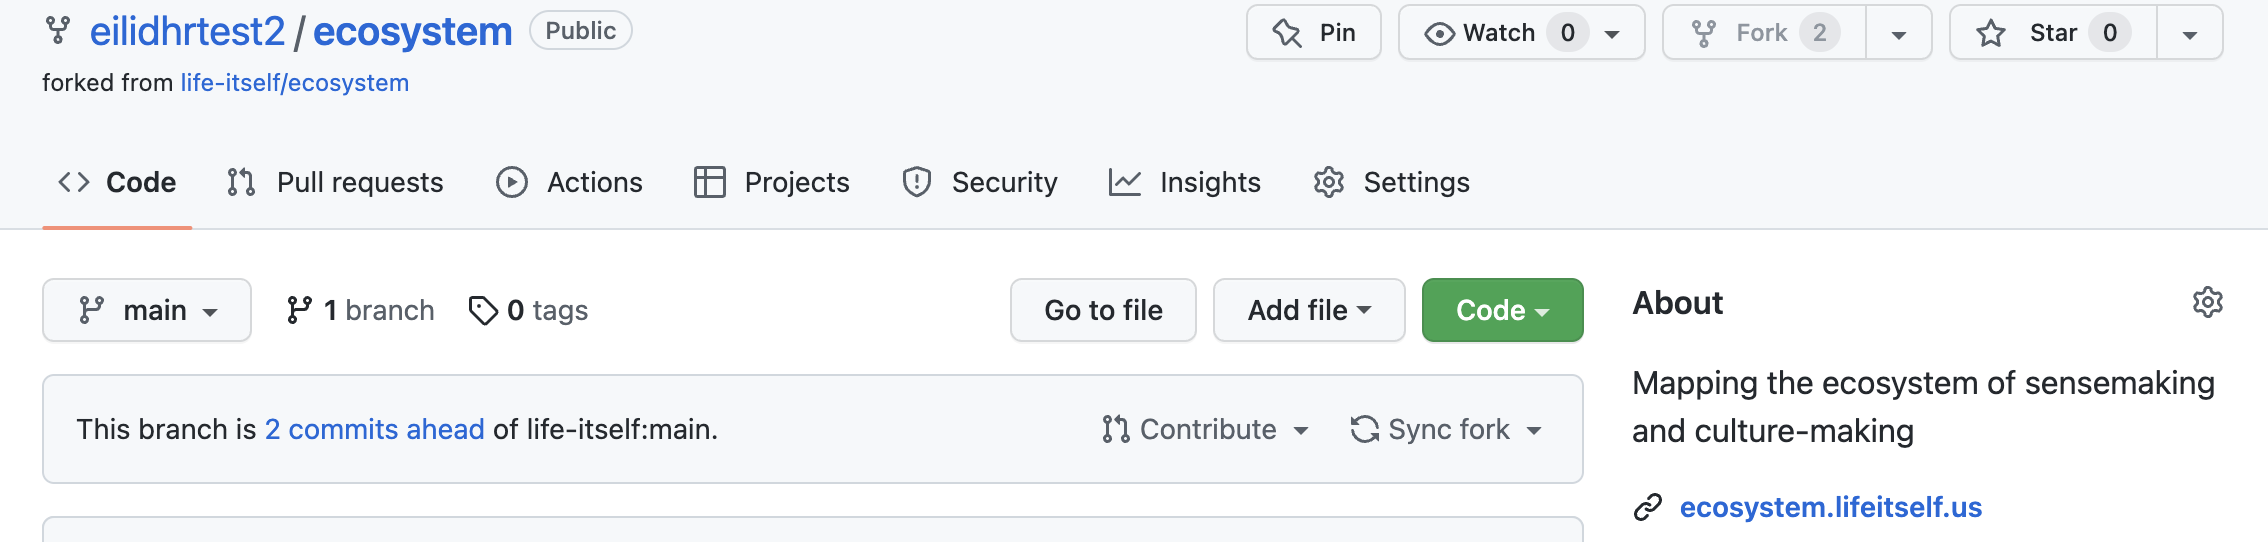
- You have now created a fork! You can see that you are working in a fork of the repo by looking at the top left of the screen. It should look like this (but with your own user name).

- We now recommend that you do all the following steps in the same pull request. That way, you can request all the additions to the site you want to make in one request. But we’re getting ahead of ourselves, let’s add some content!
Templates
To add a new profile page, please use the profiles-template.md in the ecosystem repo.
To add a new topics page, please use the topics-template.md in the ecosystem repo.
Copy the raw contents from the relevant template by clicking the icon with 2 squares overlapping.
Adding a page
Create the page
- In your fork of the ecosystem repo, go to the folder “content”, then select the folder representing the type of page you want to add, eg “profiles” or “topics”.
- Click on the “Add file” button in the upper right corner to add a new page. Select, “create new file”.
- On the top right, under the “Cancel changes” button is the line wrap mode box. Select “Soft wrap”.
Add the frontmatter
- Place your cursor in line with the figure “1”. Then “right click” (two finger click on a mac) and select paste. Alternatively, select command+v to paste. This will paste in your template (ensure the template was the last thing you copied).
- Fill in the frontmatter with the relevant information. The template that you have copied across will contain information from another organization/topic. We have left this information in place so you can see how the information should be inputted.
- For a new profile page, the following answers can be left as is, the rest should be tailored to your oragnization.
- Notes_data_entry
- Curation_status
- To add a logo and image to your profile:
- Save the logo and photo you want to be featured on the profile to your computer. Name these files on your computer something that represents the images (eg organization-name-logo.png and organization-name-image.png).
- Copy the name of one of the files you have just made.
- Paste the name of the file into the relevant field in the frontmatter for the profile eg logo, cached. Add /img/ to the beginning so it should look like this: logo: cached: /img/organization-name-logo.png
- Do the same steps for the other image.
- In the url sections of the frontmatter for the logo and image, paste the url of where you downloaded the logo and image from (eg https://www.facebook.com/AlterEgoNetwork/photos/a.163253037723176/163253617723118/).
- The image and logo fields of the frontmatter should look like this:
![]()
- For a new topics page, leave “image” as is. Fill in the rest of the information as appropriate for the topic you are creating the page for. Have fun picking an emoji that you think best represents it!
- Note: All fields within the frontmatter are optional. Remove (or leave empty) the fields that are not in use to eliminate any errors during build.
- Name your file. In the box that says “name your file”, paste in the “id” of your page followed by “.md”. Eg for a profile, it should look like this:

Adding a description
- Once you have filled in the frontmatter, add a brief description of the topic/organization. Use the example description to guide what your description should contain and how it should be formatted.
Check and propose changes
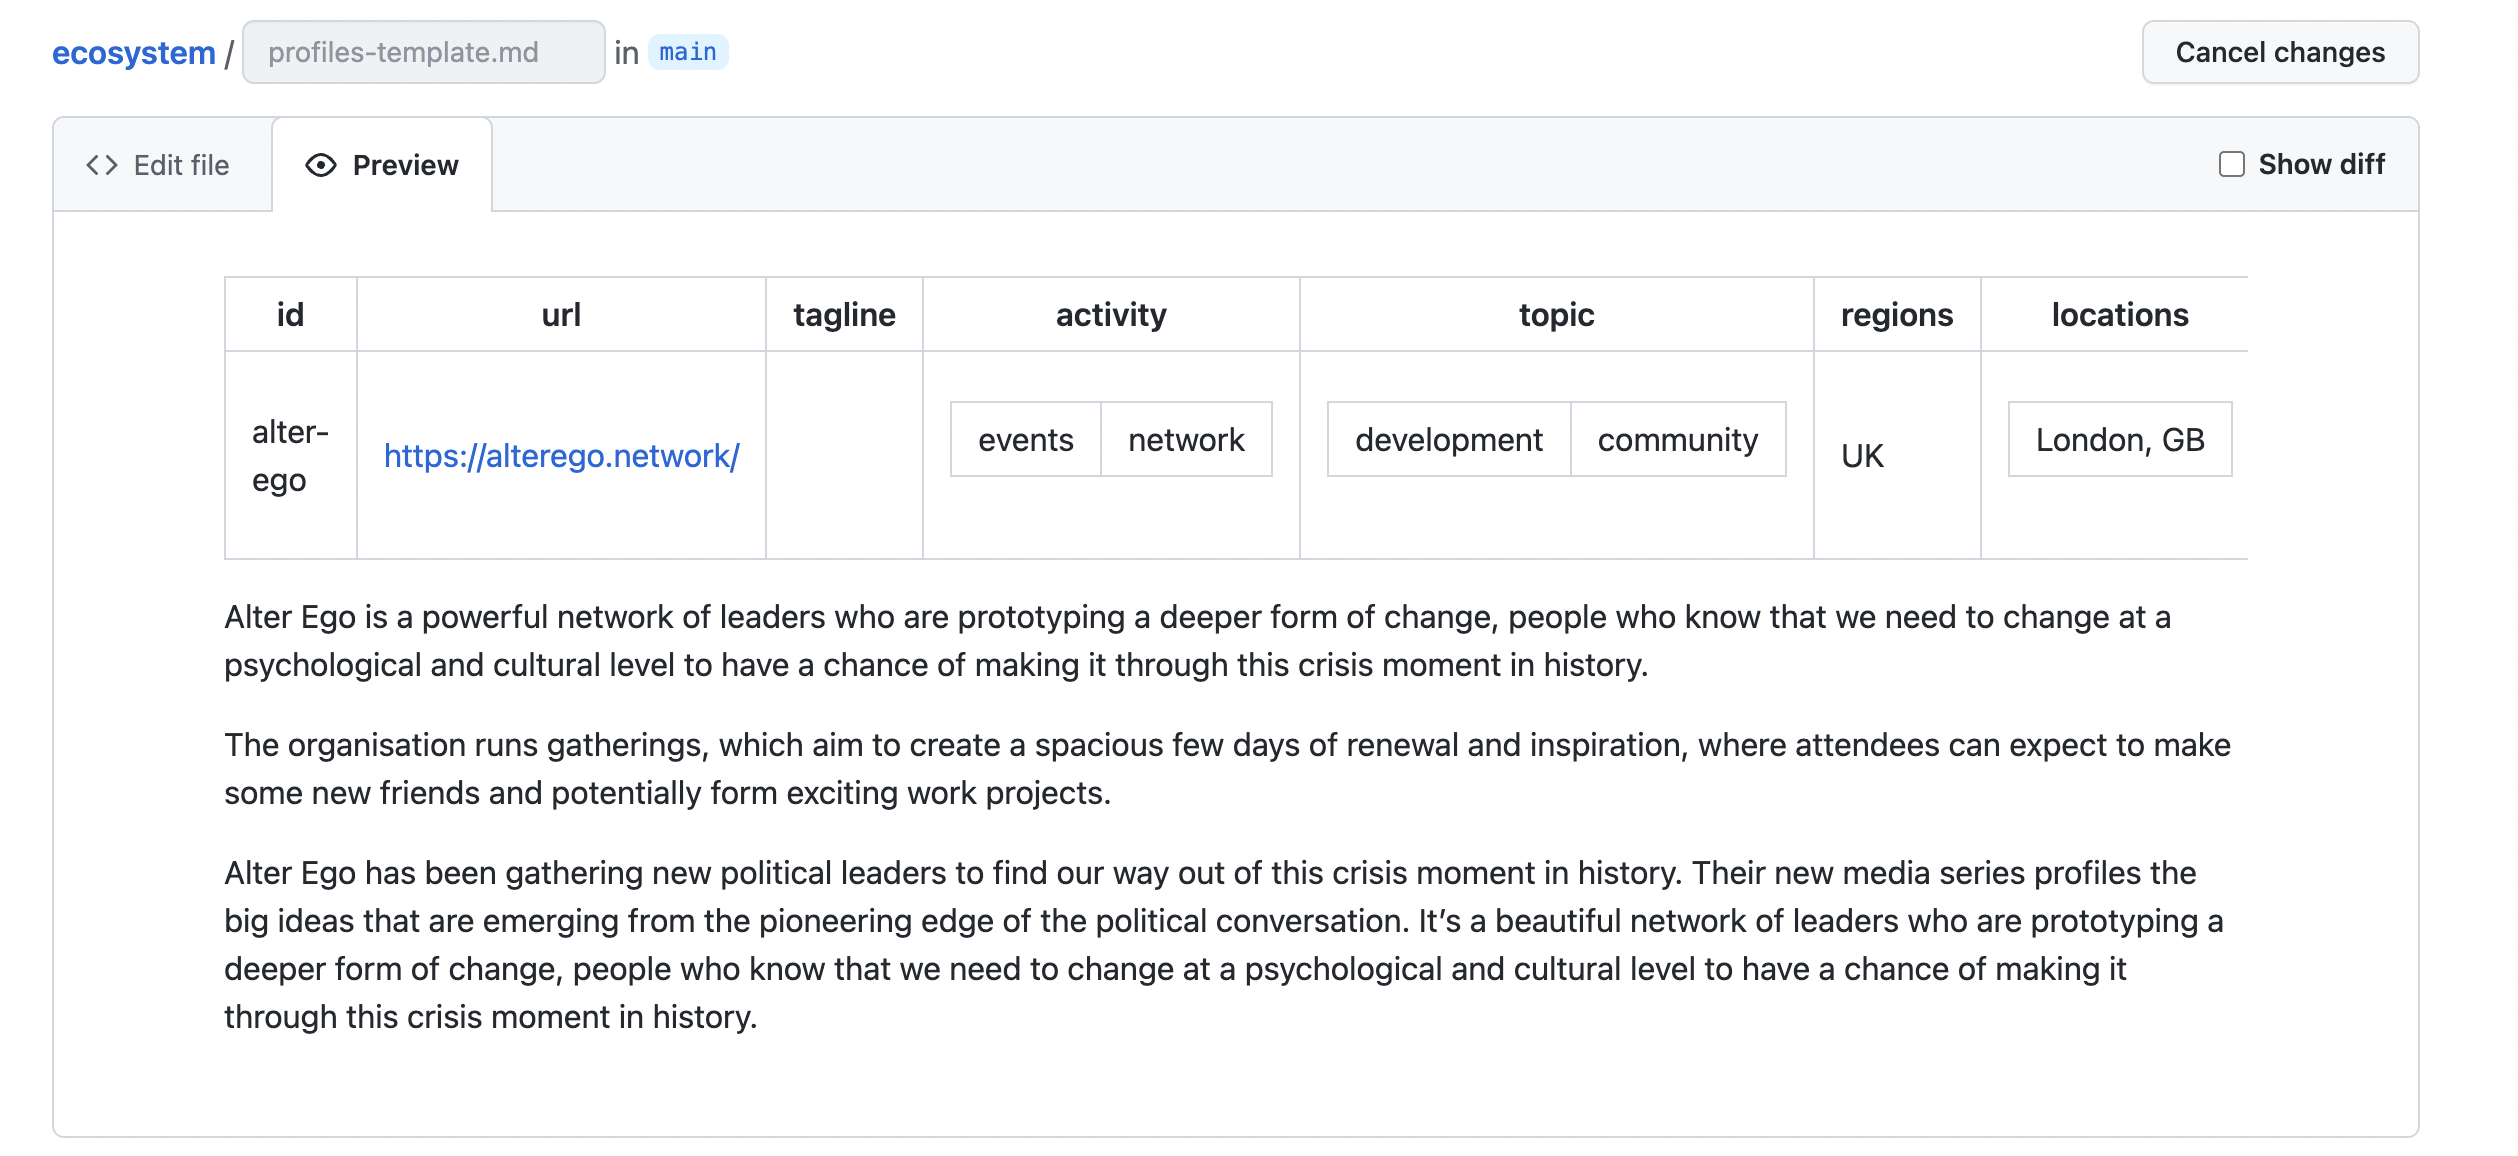
- Once you have filled in the frontmatter and have added a description, check it’s all worked. Click the preview button. It should look like this for a profile:
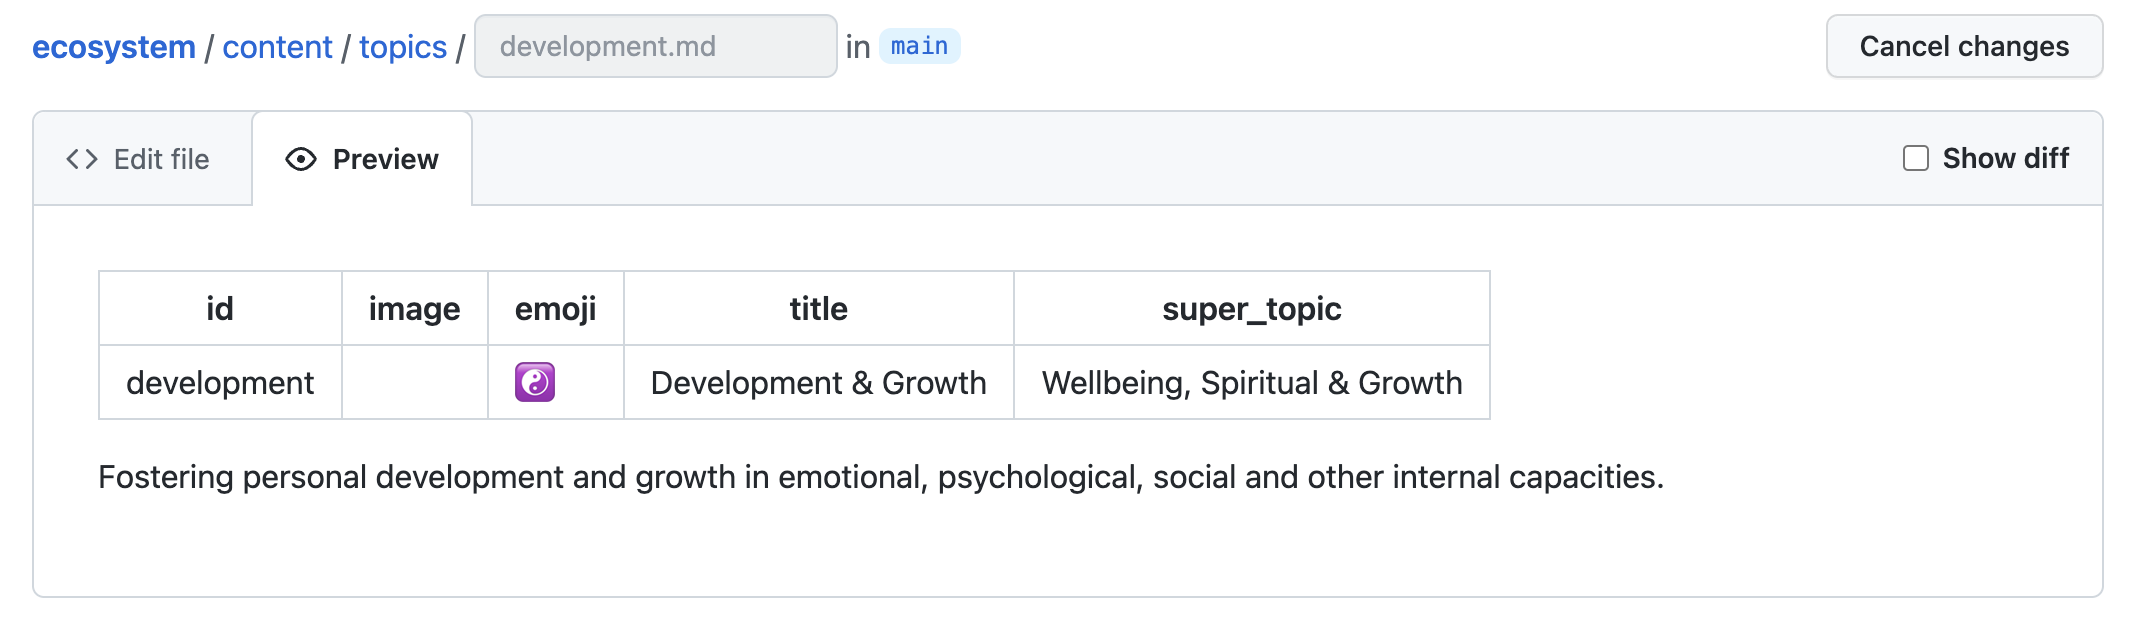
- Or this for a topic:
- Once you’ve checked everything looks fine, and you’re ready to commit the new file, go to the bottom of the page where you will see a box titled ‘Commit new file’. Type into the first text box below a brief description of what you are proposing, eg “add alter-ego.md”. Use the box below that for optional further description of your edits.
- Now you are going to commit directly to the main branch by clicking the green button that says “Commit new file”.
- Well done! But you’re not done yet. Remember the logo and image you downloaded to your computer? Now you need to upload them to the repo.
Adding an image/logo
- Remaining in your fork of the ecosystem repo, click “content”, then “assets”, then "img". Once here, click on the “Add file” button, then select “Upload files”. Once here, click on the “Add file” button, then select “Upload files”. Upload your two files eg organization-name-logo.png and organization-name-image.png
- Once you’ve uploaded the images, go to the bottom of the page where you will see a box titled ‘Commit changes’. Type into the first text box below a brief description of what you are proposing, eg “adding images”.
- Now you are going to commit these images directly to the main branch by clicking the green button that says “Commit changes”.
Open pull request
- Now that you’ve committed your new page and the relevant images, you’re ready to open the pull request. Head back to your fork of the ecosystem repo. You should see a box that looks like this:
- Click the “Contribute button”. Now click the green “Open pull request button”
- In the box that says “Title”, give a title to your pull request. Something like “Add (name of organization) profile page + images”.
- Now click the green “Create pull request button”. This will notify a team member to review and confirm the additions you’ve made to the site.
- Once they’ve done that, your edit will appear on the site! Thanks for contributing!
Glossary
- Repo => short for Repository. Contains all a project’s files.
- Working directory => The folder you are currently working in.
Contact
If you run into any issues while following this guide, please let us know so we can improve this guide to help future contributors.